Remove Mold Mildew from Shower Without Bleach

Bleach isn't the first thing you need to remove mold and mildew from a shower. Start by identifying the surface and finding out why it stays wet. A stronger spray won't repair a leaking valve, dry the wall behind loose caulk, or make an ineffective exhaust fan work better.
For homeowners, renters, and businesses in Kennesaw, Acworth, and nearby Georgia communities, the practical approach is straightforward: clean sound, washable surfaces, leave damaged building materials alone, and make drying part of the job.
Table of Contents
Why Shower Mildew Keeps Coming Back
Say your shower looks clean at night, but by morning you notice gray freckles along the bottom seam again. During a humid Georgia summer, it's tempting to blame a weak cleaner and reach for bleach. Yet marks that seem to return overnight may be staining you never removed, growth inside deteriorated caulk, or a wet seam that never dried.
Appearance alone doesn't tell you what material is affected or where the water comes from. Before scrubbing, look at the shower while it hasn't been used. A wet curb, dripping showerhead, or damp joint deserves attention before another cleaning session.
The EPA's mold and moisture guidance emphasizes removing mold from hard surfaces with detergent and water, drying completely, and correcting the water source rather than relying on routine chlorine bleach use.
Practical rule: Judge the result by a clean surface that can dry, not by how strong the bathroom smells afterward.
Read the pattern before choosing a product
Dark marks concentrated at a loose joint call for a different response than removable film across intact glass. A patch beside the valve wall raises different questions than spotting on a curtain folded into a wet corner.
Busy households in Woodstock and Marietta don't need an elaborate chemical routine. They need to distinguish cleanable surface buildup from a failing seam or concealed moisture. Pick the material first, then decide whether to clean, repair, or arrange an assessment.
Match the Cleaner to the Shower Surface
Shower surface, cleaner, and next action
| Surface | Cleaner | Action | If spots return |
|---|---|---|---|
| Glazed tile, glass, fiberglass, or metal | Detergent and water | Scrub all visible growth, then rinse | Dry fully and check the fan and leaks |
| Sealed natural stone | Mild detergent only; no bleach, acid, or abrasive | Soft scrub, rinse, dry | Check the sealer; reseal as appropriate if water no longer beads |
| Cement grout lines | Detergent and a stiff nylon brush | Scrub the lines and dry promptly | Regrout if the grout is crumbly or deeply stained |
| Silicone caulk with black spots in the bead | Detergent on the surface once | Wipe; don't soak the wall behind | Cut out and replace the bead |
| Painted drywall, soft backing, or wet insulation | Don't soak or paint over | Stop and address drying | Replace affected material that can't be cleaned and dried, and assess for a leak |
| Hard surface only, if bleach is chosen | Household bleach diluted within CDC guidance below | Never mix with ammonia or other cleaners; ventilate, rinse as appropriate, dry | A stronger mix isn't a reliable solution to recurrence |
Choose for the finish, not the stain color
Glazed tile and glass can tolerate mechanical cleaning, but that doesn't mean a scratchy pad is appropriate. Use a non-scratch sponge or nylon brush. On fiberglass, metal finishes, and coated shower glass, avoid anything that can dull or scratch the surface.
Natural stone needs a separate decision. Don't carry an acidic glass or mineral-deposit cleaner onto marble or another acid-sensitive stone. Start with mild, stone-compatible detergent and a soft cloth. Reduced water beading is a reason to check the sealer's maintenance requirements, not to cover a damp or contaminated surface with fresh sealer.
Cement grout needs bristle contact along the joint. Use a stiff nylon grout brush, not a wire brush, and stop if the joint starts shedding material. With silicone, distinguish film sitting on the surface from dark spots embedded inside the bead. Repeatedly soaking the latter won't restore a failed joint.
The EPA's guidance on mold in the home explains that absorbent materials may need replacement when they can't be cleaned and dried completely. That's why exposed backing and wet insulation don't belong in the same cleaning category as shower glass.
Keep separate cleaning problems separate
Cloudy glass isn't automatically mold. Mineral deposits and soap film can remain after visible growth is removed. Benny's guide to shower glass care for shared cleaning routines is useful when household members need a consistent approach to hard-water marks without confusing them with mildew.
For a tub beneath the shower, our guide to cleaning porcelain tubs helps you keep the tub's finish in mind rather than treating every bathroom surface alike.
If you still choose bleach for a compatible hard surface, the CDC's mold-cleaning guidance limits the mixture to no more than 1 cup of household bleach per 1 gallon of water. Remove soil first, follow the label, ventilate outdoors, and wear rubber gloves, boots, and goggles. Never combine bleach with ammonia or other cleaners, because toxic vapors can result.
Use only the approach suited to your material. More products create more opportunities for damage and unsafe mixing, not a better diagnosis.
How to Scrub and Dry the Shower
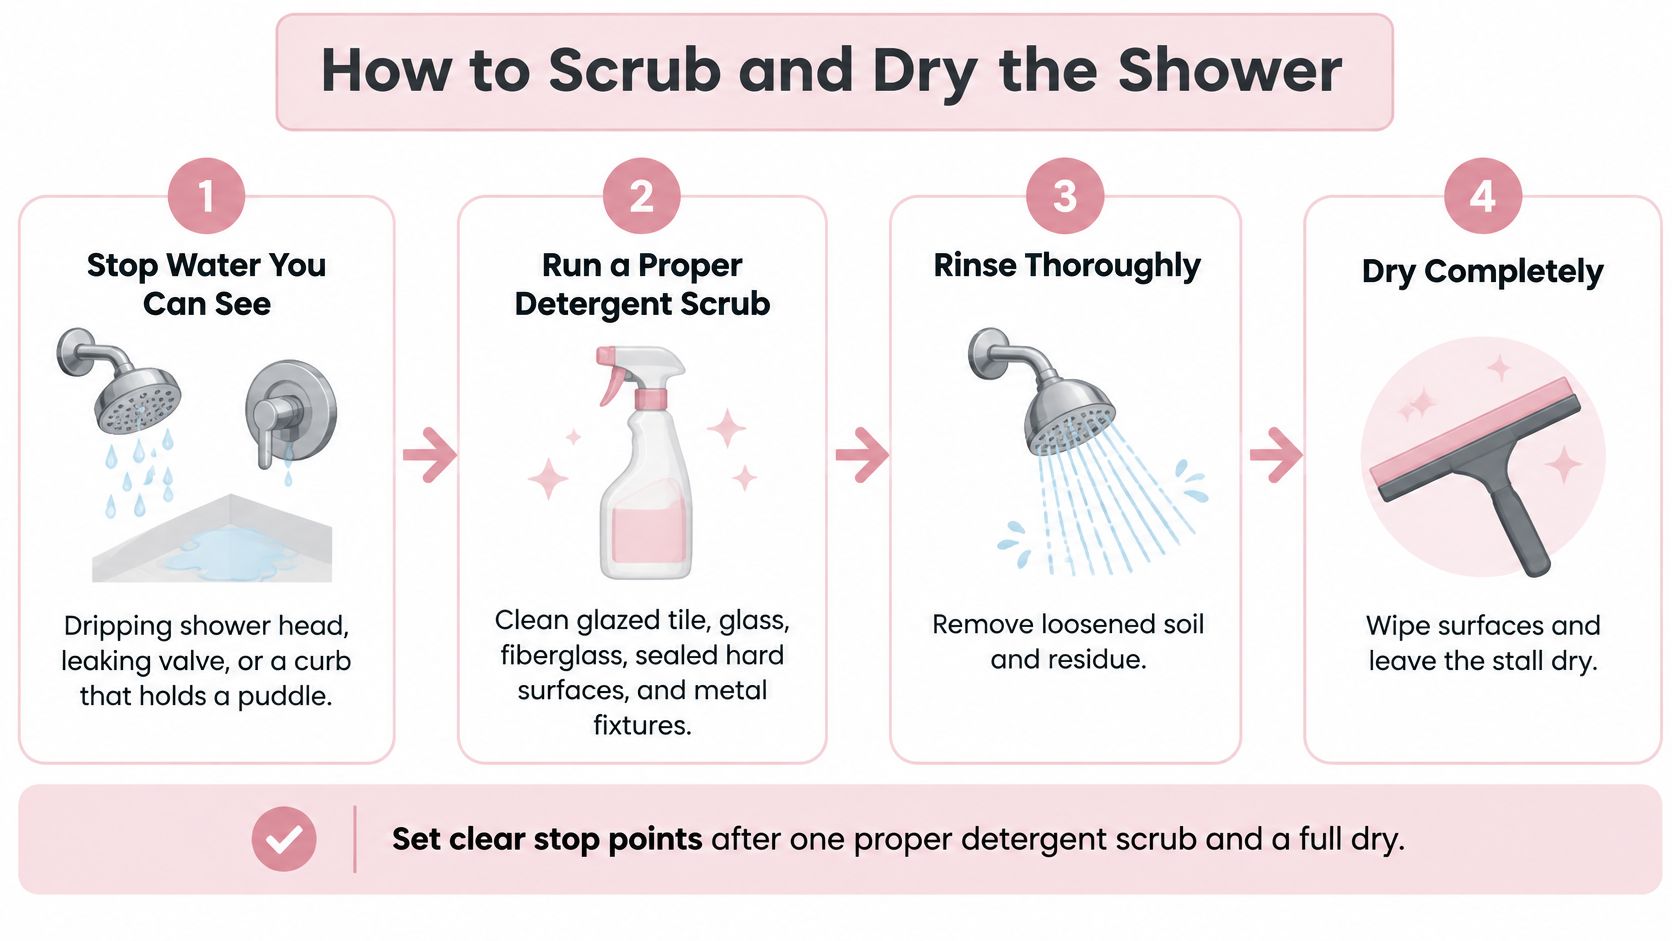
Use this sequence for a small area of ordinary surface growth on sound glazed tile, glass, fiberglass, compatible sealed hard surfaces, and metal fixtures. It isn't a procedure for soft drywall, wet backing, or deteriorated joints.
The EPA's home mold-cleanup guidance recommends detergent-and-water cleaning for hard surfaces and drying wet materials within 24–48 hours. Treat that drying window as a limit to avoid approaching, not a reason to leave a freshly cleaned shower wet.
Prepare without spreading the mess
Stop water you can see. Check the showerhead, valve, door edge, and curb before adding cleaning water. Have a persistent drip repaired, and note any puddle that forms when nobody is bathing. Don't mistake wiping up a leak for fixing it.
Ventilate and protect yourself. Run an exhaust fan that vents outdoors, or open a window when conditions allow. Put on gloves and eye protection before handling cleaner or scrubbing overhead surfaces. Remove bottles, razors, and loose items so you can reach the ledges beneath them.
Apply detergent and water to loosen the film. Choose a mild detergent compatible with the finish and use its labeled dilution. Apply it with a damp sponge or cloth rather than saturating joints. Let the film soften as directed, but don't allow cleaner to dry onto the surface.
Soap residue can hide the area you're trying to clean. Spraying over it and walking away leaves the physical buildup in place. You need contact between the cleaning tool and the affected surface.
Remove the growth and finish dry
Scrub until visible growth is removed. Work from upper surfaces toward the floor using a non-scratch sponge or soft nylon brush. Switch to a narrow grout brush for intact cement joints, corners, and fixture edges. Keep rinsing the tool to avoid spreading dirty residue.
Use lighter pressure on fiberglass, stone, and plated fixtures. If caulk lifts or grout crumbles, stop working that spot. Those are material failures, not a cue to press harder.
Rinse away loosened soil and detergent. Use controlled water rather than directing a forceful stream into suspect seams. Check behind handles, along the bottom of glass, and around the curb for remaining residue. A slippery film means the rinse isn't finished.
Towel-dry the entire washable area. Pull water down the glass and tile with a clean squeegee, then use an absorbent cloth on corners, the curb, fixtures, and door tracks. Keep ventilation running while the remaining moisture clears. Don't leave a wet cleaning cloth bundled inside the stall.
Inspect the result after drying. Look under good light for remaining film, embedded staining, and damp joints. The surface should look clean and be able to stay dry between uses. If a particular seam stays wet while surrounding tile dries, investigate that location instead of repeating the whole chemical routine.
- Growth extends beyond a small bathroom surface. Wider involvement calls for an assessment of the affected materials and moisture source.
- Spots return rapidly after proper cleaning and drying. Repeated work on the same patch can miss water behind the finish.
- Drywall or other porous backing is involved. Surface wiping can't establish whether concealed material is sound.
- The problem follows a plumbing leak. Repair and drying need to account for where the leaked water traveled.
- A musty odor has no visible source. Clean-looking tile doesn't rule out a problem elsewhere.
- Pull water off glass and tile. Keep a clean squeegee within reach so it's convenient to use.
- Wipe low collection points. Dry the curb, fixture bases, and accessible door tracks with a cloth.
- Spread the curtain. Open its folds so wet layers aren't pressed together; position doors so air can reach damp corners.
- Remove wet textiles. Hang towels properly and don't leave a soaked bathmat against the shower base.
- Watch recurring locations. Check caulk for separation and grout for cracks during regular bathroom upkeep.
A cleaning session isn't finished when the spray bottle is empty. It's finished when loosened soil is gone and the stall has dried.
Don't paint, seal, or caulk over a damp contaminated area to improve its appearance. After the next shower, make a squeegee pass and wipe the curb so the freshly cleaned surfaces aren't left standing in water.
When Cleaning the Shower Is No Longer Enough
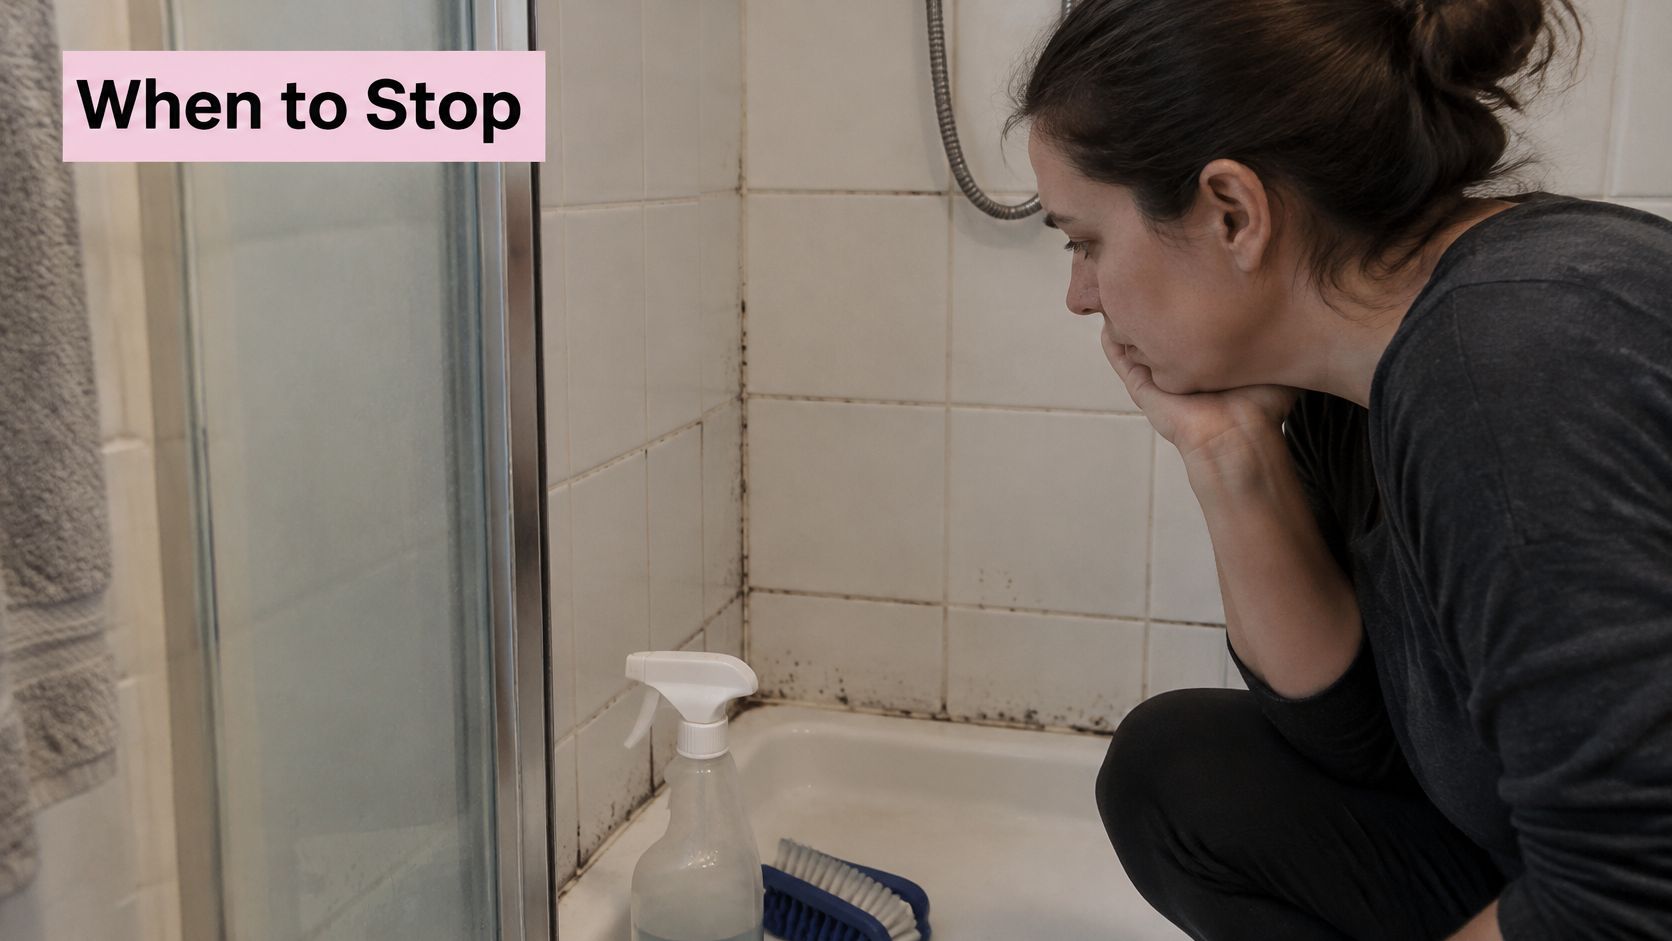
Stop treating the problem as routine housekeeping when any of these signs appear:
The EPA's guidance on getting rid of mold emphasizes correcting the water problem as part of cleanup. A building professional, plumber, or qualified remediation provider may be the appropriate next call, depending on what's wet and why.
Persistent scrubbing is frustrating when the material itself needs attention.
Separate stains from damaged construction
A dark joint isn't enough by itself to diagnose a concealed leak. But soft drywall beside the stall, crumbling wall material, a soft curb, or staining that follows the valve wall are reasons to stop adding water and investigate.
Don't cut into a suspect wall just to find out what's behind it. Renters should report these conditions to the landlord or property manager rather than removing building materials themselves. Businesses and HOA managers should keep the affected shower out of routine cleaning work until the repair responsibility is clear.
A recurring stain inside silicone calls for removal of the failed bead and inspection of the joint before replacement. New caulk belongs on a properly prepared, dry joint, not over the old bead.
Consider who would be doing the cleanup
Someone with asthma, mold allergies, or a weakened immune system shouldn't be expected to disturb mold just to improve the bathroom's appearance. Limiting exposure and arranging appropriate help matters more than getting the grout photo-ready. That's a precaution, not a promise that cleaning treats a medical condition.
Stop point: Hidden water and damaged building materials need an assessment, not another bottle of cleaner.
In Dallas and Powder Springs, a musty bathroom during humid weather can also warrant a ventilation check. A fan may make noise without removing enough moisture, and a duct that doesn't terminate outdoors needs attention.
Our explanation of deep cleaning versus regular cleaning can help you judge ordinary housekeeping needs. Neither level of housekeeping substitutes for leak repair or mold remediation. Small, accessible hard-surface film may remain a DIY task; concealed moisture and damaged construction don't.
Keep the Stall Dry After Every Shower
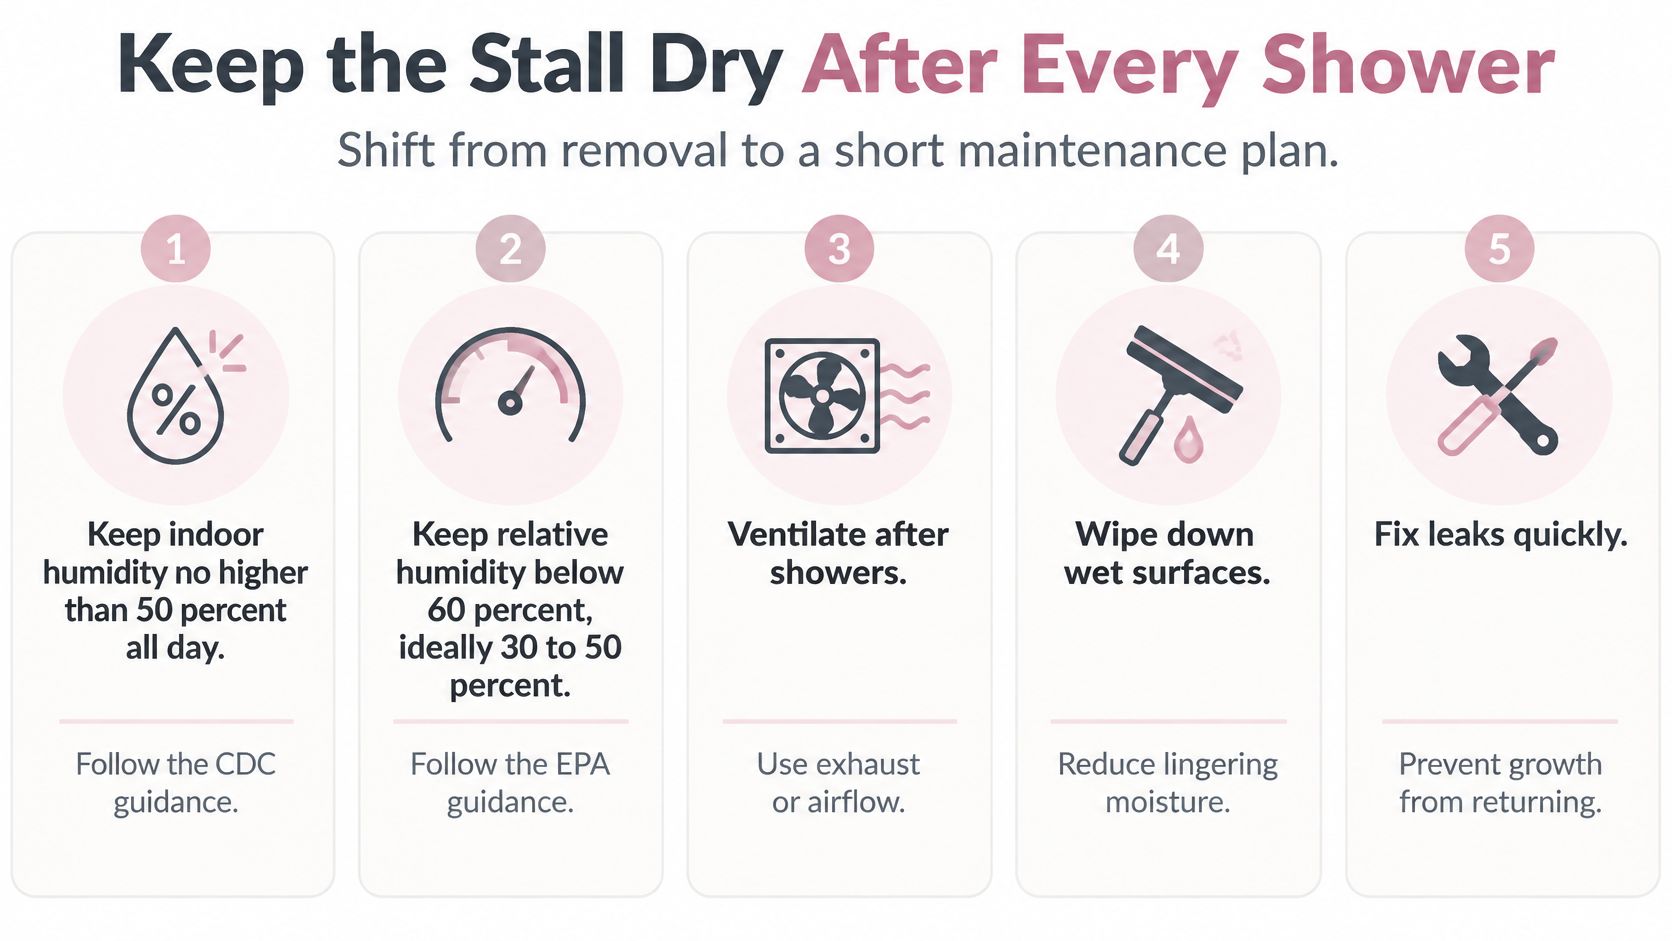
Build a drying habit around the people who use the bathroom. The person taking the last shower can squeegee the walls, wipe the curb, and leave the ventilation running until lingering moisture clears. That's easier to maintain than expecting someone to return later and clean a wet stall from scratch.
The CDC's mold guidance recommends indoor humidity no higher than 50% all day; the EPA's recommended range is below 60%, ideally 30–50%. A small indoor humidity monitor gives you something more useful to check than whether the mirror has cleared.
Make airflow part of bathing
Turn on an exterior-vented bathroom fan while showering and leave it on afterward while the room dries. Don't use a fixed timer setting as proof that the job is done if the curb and corners remain wet. Opening a window can help when outdoor conditions allow, but humid outdoor air isn't always useful drying air.
A fan that discharges into an attic or another indoor space hasn't removed moisture from the building. Have the exhaust route checked if you're unsure where it terminates. Keep the grille free of accumulated dust according to the fan's maintenance instructions.
In Kennesaw and Acworth, humid summer conditions can make a closed bathroom slow to dry after a commute-day shower. If humidity remains high despite working exhaust, investigate the home's broader moisture control rather than leaving the fan to compensate for every problem.
Give trapped water somewhere to go
Use a simple closing routine:
Bathroom rugs deserve their own care routine rather than becoming a place to park wet towels. Our guide to cleaning bathroom rugs helps you manage that part of the room without leaving damp fabric beside the stall.
A shared office or HOA amenity shower needs a named person responsible for reporting persistent wetness and damaged joints. Otherwise, each user may assume the next person will mention it.
Don't aim for a permanent chemical cure. Aim for an observable result: drained surfaces, drying corners, intact joints, and no unexplained return of the same patch. If that result isn't happening, change the moisture or repair plan before changing products.
Request a Free Estimate for the Shower
If the shower surfaces are sound and the moisture issue is under control, regular cleaning can help manage the remaining buildup. Maid in America is a locally owned, privately owned cleaning company serving homes, offices, and community amenities in Kennesaw, Acworth, Woodstock, Marietta, Cartersville, Dallas, Hiram, Powder Springs, and nearby communities across Cobb, Paulding, and Bartow counties.
Choose upkeep that fits the bathroom
Standard bathroom cleaning includes scrubbing the tub and shower walls, cleaning shower doors and glass, sanitizing the toilet inside, outside, and at the base, and cleaning mirrors streak-free. The Basics includes a top-to-bottom tub and shower detail and a toilet cleaned and disinfected inside and out. Cabinet detailing and grout cleaning are available by request. Recurring service is available weekly, biweekly, every three weeks, or monthly.
Maid in America uses natural, low-odor cleaning solutions and avoids chlorine bleach, ammonia, abrasives, phosphates, and phthalates. Special-care instructions are recorded in advance, so discuss the shower material and any sensitive areas before cleaning.
The service is performed by licensed, bonded, and insured cleaning professionals. Maid in America also selects and trains its cleaning professionals. The focus is routine care and detailed cleaning of sound surfaces, not medical treatment or concealed-mold remediation.
For a shower that needs grout attention or ongoing bathroom upkeep, request an estimate through the Maid in America website. Include the shower material, the areas needing attention, and any special-care instructions when discussing the work.




Maid in America provides reliable, personalized cleaning with natural products for homes, offices, and communities across West Georgia. Licensed, bonded, and insured, we’re locally and privately owned.
Get in touch with us today!
info@maidinamericaga.com