How to Clean Oven Glass Inside Without Damage
You close the oven door after baking and notice the haze immediately. In Kennesaw and Acworth kitchens, Georgia sunlight can make a thin film of grease look far worse than it did while the door was open. Holiday roasting, spring pollen tracked indoors, red clay dust, and everyday cooking all leave their mark, but the wrong cleaning method can scratch or even crack the glass.
The phrase clean oven glass inside sounds simple. It isn't, because “inside” may refer to several different surfaces. Before reaching for baking soda, a scraper, or oven cleaner, identify exactly which layer is dirty and what your appliance manual permits.
Table of Contents
Why Your Oven Glass Looks Cloudy in the First Place
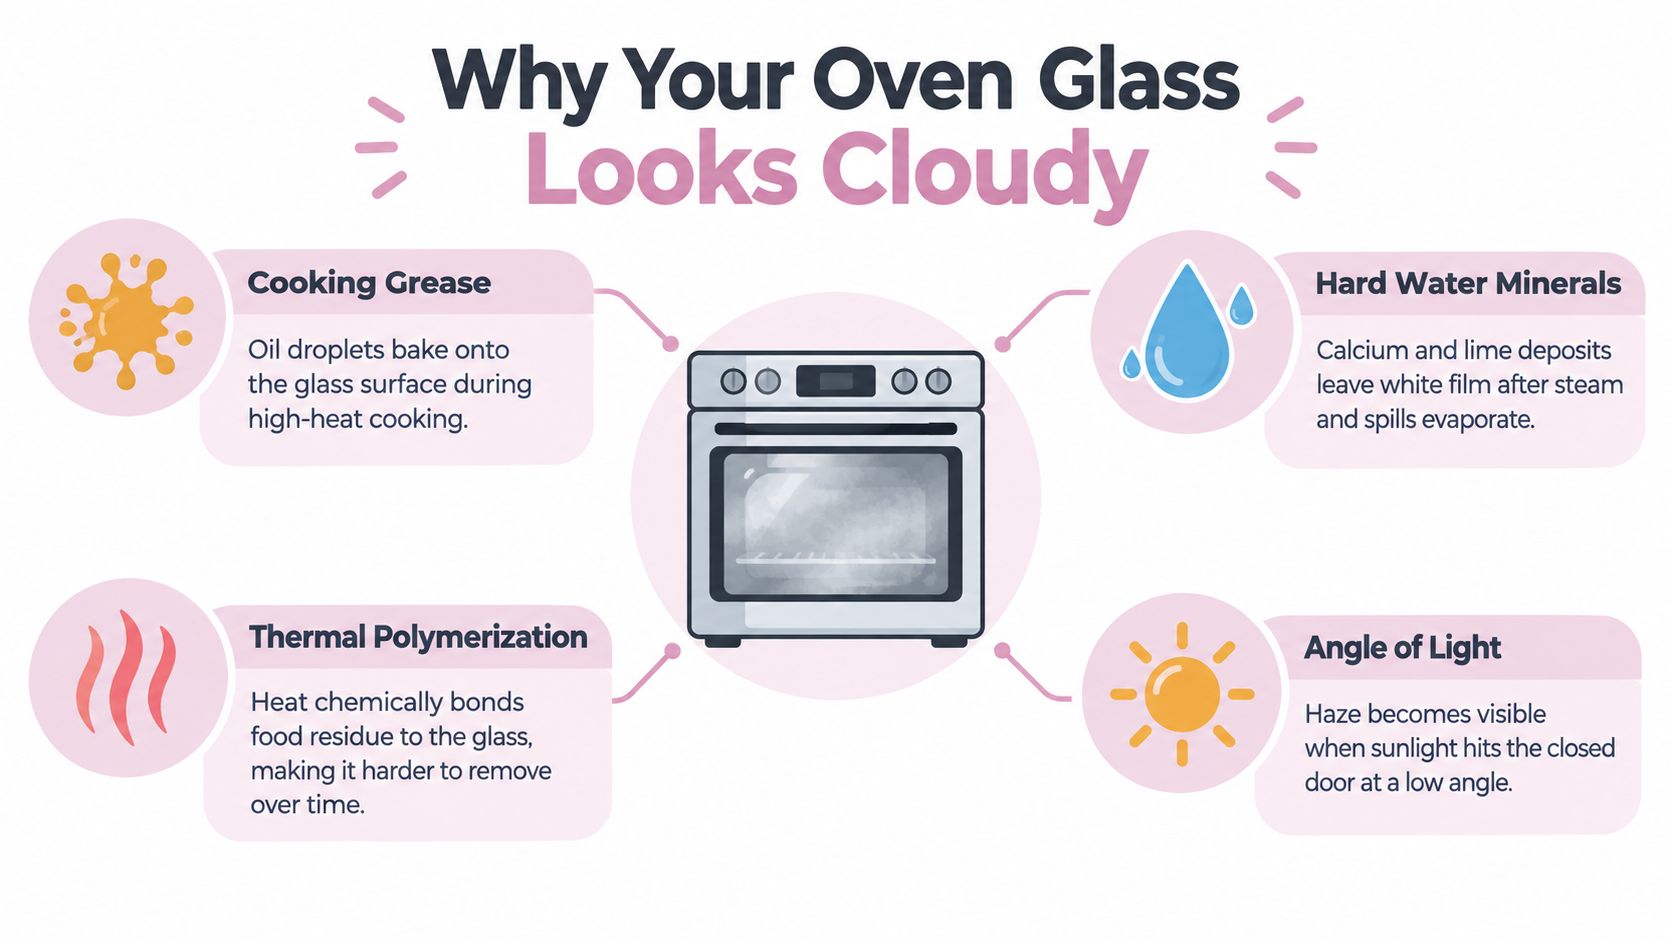
A cloudy oven door usually comes from a mixture of grease, food residue, steam deposits, and the way light strikes the pane. Heat can bond residue tightly to glass, while evaporated water may leave a pale film. The same principles explain why it helps to prevent window stains rather than waiting until deposits become difficult to remove.
Find the dirty surface first
There are three possible “inside” surfaces:
- The oven-cavity-facing side of the inner pane, which faces food, heat, splatter, and steam.
- The space between multiple panes, where grease or moisture may become trapped.
- The inner face of the outer pane, which faces the door's internal structure rather than the oven cavity.
If you can see the mark clearly with the door open and reach it without removing anything, you're probably dealing with an accessible surface. If the haze seems suspended inside the door, moves with neither side of a cloth nor ordinary wiping, it may be between the panes.
Why generic advice fails
A method that works on the oven-facing pane may be useless against contamination between sealed panels. Worse, forcing a yardstick, ruler, knife, or similar tool into a gap can bend hardware, damage seals, or break the glass. GE Appliances advises checking the owner's manual, using mild dish soap and warm water where permitted, and never forcing tools between panes. Its guidance also warns that some models with door-mounted cameras or side-swing doors shouldn't be opened by the homeowner for this task.
A self-cleaning feature doesn't automatically make every part of the door safe to treat with commercial chemicals. The manual remains the authority for glass coatings, removable panels, seals, and specialized door construction.
Practical rule: If the grime is between panes and the manual doesn't clearly explain safe access, clean only the surfaces you can reach and arrange appliance service instead of improvising.
Prep the Oven the Right Way
The safest cleaning product is still unsafe if it touches a hot pane. Whirlpool owner instructions warn that a cool, damp cloth applied before the inner glass has completely cooled can break it, so temperature control comes before every other step.
Use a safe starting sequence
- Wait until the oven is completely cool. Don't rely on the display alone. The glass, frame, racks, and nearby metal should all feel cool.
- Turn every control off. If your manufacturer permits it, unplug the oven before working around the door.
- Remove loose crumbs dry. Use a soft, dry cloth or a gentle brush around the accessible frame, keeping debris away from the gasket and door openings.
- Set up ventilation. Open a nearby window or use the kitchen ventilation system, especially during humid Georgia summers when moisture takes longer to evaporate.
- Protect the surrounding floor and cabinets. Use a towel beneath the open door to catch drips, but don't flood the area.
The door gasket is a working seal, not a scrubbing target. Whirlpool identifies the gasket as essential to maintaining a good seal and advises cleaning only the accessible inside door edge and the surrounding frame area while taking care not to move or bend it. Avoid soaking, pulling, brushing aggressively, or trapping cleaner in the flexible material.
Maytag guidance also warns that excess water can seep behind or under the glass and create staining. That's why a professional setup uses a lightly damp cloth, not a dripping sponge or spray applied directly to the door.
Choosing the Right Cleaning Solution
Start with the least aggressive option that matches the soil. For most accessible oven-door glass, that means mild dish soap and warm water on a soft cloth. GE, Whirlpool, and other manufacturer guidance consistently favors controlled moisture and nonabrasive materials, although the exact approved products vary by model.
Baking soda can help with stubborn spots when the owner's manual permits it. Mix a small amount with warm water, apply it to a cloth rather than pushing paste into seams, and use gentle pressure. “Natural” doesn't automatically mean harmless. Baking soda can still act as an abrasive if rubbed aggressively, and vinegar, ammonia, acids, and commercial oven cleaners may conflict with a door's materials or the oven's self-cleaning design.
The University of Illinois advises following manufacturer directions and notes that oven cleaner intended for cold ovens is more potent than cleaner intended for hot ovens. It also cautions against using oven cleaner on self-cleaning ovens because it may damage the surface. New Mexico State University warns never to mix chlorine bleach and ammonia, because the combination creates a deadly gas. For households with children, pets, or sensitivity to strong odors, a mild soap solution is the more controlled starting point.
If you're comparing products for other household glass, guidance on how to compare streak-free glass cleaners can help explain why residue, application method, and drying technique matter. Oven glass still requires its own appliance manual, however.
| Situation | Safer Choice | Avoid | Why It Matters |
|---|---|---|---|
| Light film or recent splatter | Mild dish soap, warm water, and a soft microfiber cloth | Dry abrasive pads and direct spraying | Low moisture reduces the chance of liquid entering seams |
| Stubborn surface grease | A small amount of baking soda mixed with warm water, if the manual permits | Forceful scrubbing or powdered cleaners used dry | Gentle dwell time works better than pressure |
| Self-cleaning oven | The model-approved method in the owner's manual | Assuming the self-clean cycle approves commercial oven cleaner | Some cleaners can etch or discolor oven surfaces |
| Grime between panes | Manual-approved access or appliance service | Yardsticks, knives, forced disassembly | Door construction, seals, and cameras vary |
| Odor-sensitive household | Mild soap, ventilation, and thorough rinsing | Ammonia, chlorine products, and unapproved solvents | Residue and fumes can remain around the cooking area |
For more kitchen-specific guidance, see these practical notes on safe and effective vinegar uses for kitchen appliances. Vinegar shouldn't become an automatic choice for every oven door, especially when the manual restricts acids or when residue could enter the door structure.
The Actual Scrubbing Technique
Good technique is controlled, modest, and repetitive. It doesn't involve soaking the door or trying to remove baked-on grease in one aggressive pass.
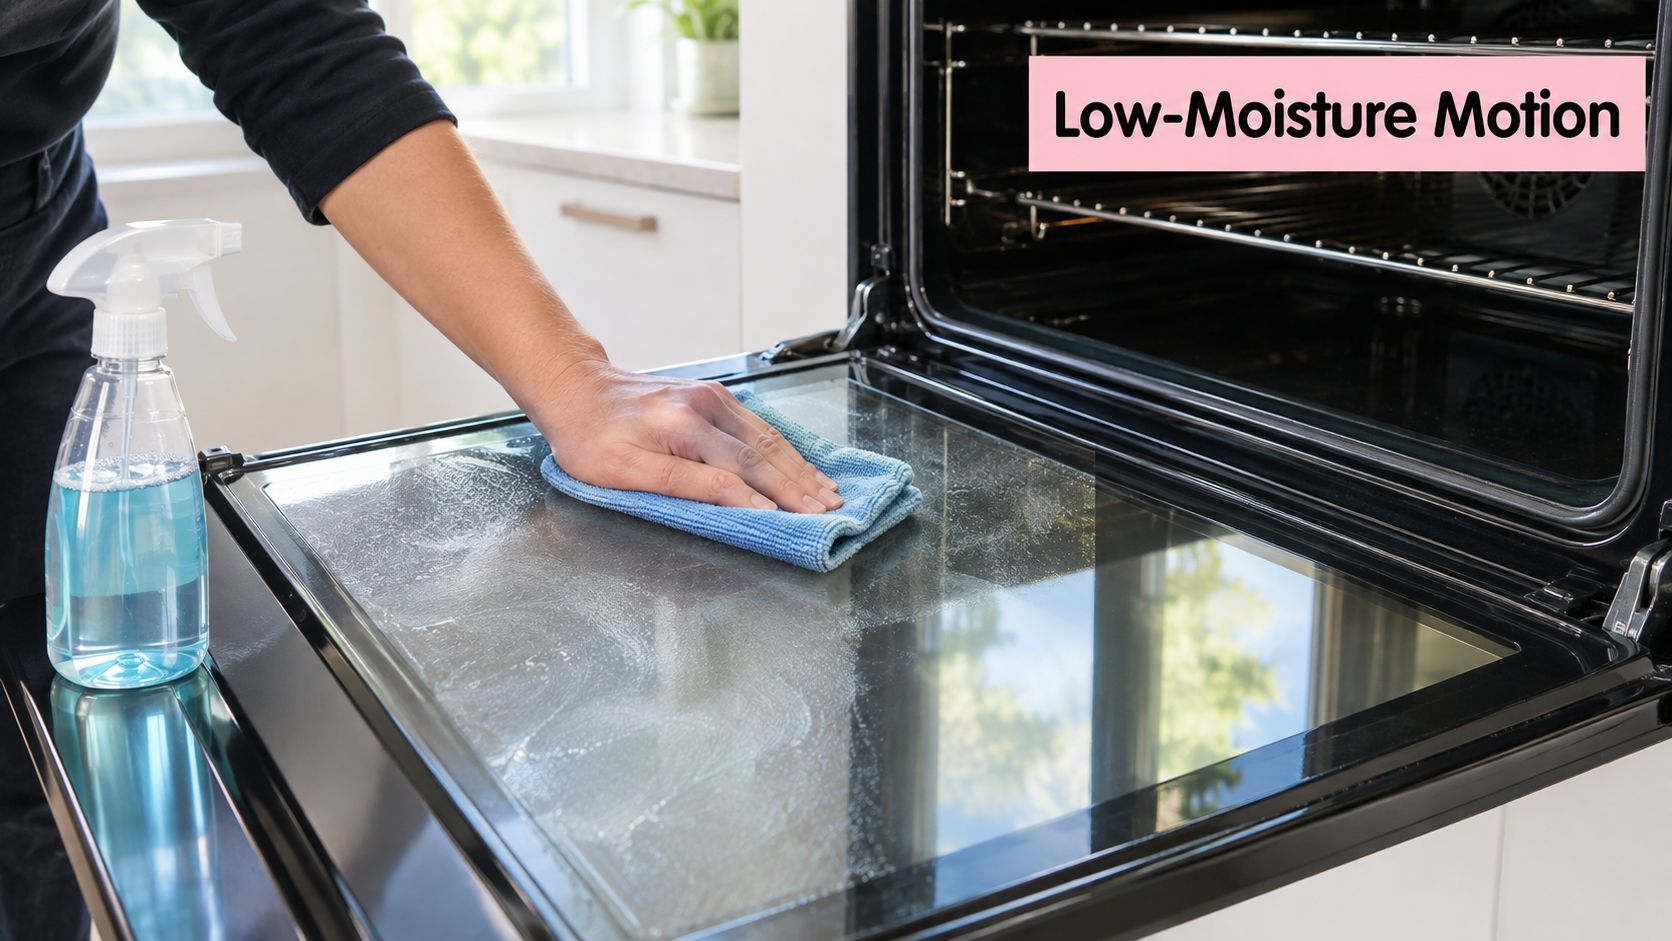
Begin by putting a small amount of mild soap solution, or permitted baking soda mixture, on a soft microfiber cloth. Don't spray directly onto the glass. Work across a small section, especially near the lower corners where grease often collects, and allow stubborn residue to soften for approximately 2 to 3 minutes, following GE's guidance for compatible models.
A low-moisture wiping rhythm
- Lift loose residue first. Use the cloth to gather crumbs and softened film rather than grinding particles into the surface.
- Wipe in small sections. Overlapping passes reveal which areas still need attention.
- Use a clean-water pass. Wipe away soap or baking soda with a separate lightly damp cloth.
- Dry immediately. Finish with a lint-free microfiber towel and inspect under angled light.
- Repeat the short cycle if needed. Increase dwell time slightly within the manual's limits, not pressure or chemical strength.
Steel wool, abrasive pads, powdered cleaners, sharp scrapers, and razor blades don't belong on oven glass. A scratch may weaken the pane and increase the risk of shattering during later heating. Even a plastic edge should be used cautiously and only where the manufacturer allows it.
Near the gasket, clean the glass and accessible frame with the cloth folded into a narrow edge. Keep liquid away from the seal, vents, hinges, control-panel gaps, and the space where the panes meet. Products marketed for other specialty surfaces, including glass cleaner for boat upkeep, aren't automatically suitable for an oven door. Appliance compatibility matters more than a product's reputation on another type of glass.
Maid in America's Dawn dish soap cleaning ideas can offer general household inspiration, but oven-door glass still needs the appliance manual's boundaries. The finish line is not a shiny appearance. The pane should be free of cleaner residue, dry around its edges, and undisturbed at the gasket.
When Inner Glass Panels Should Stay Put
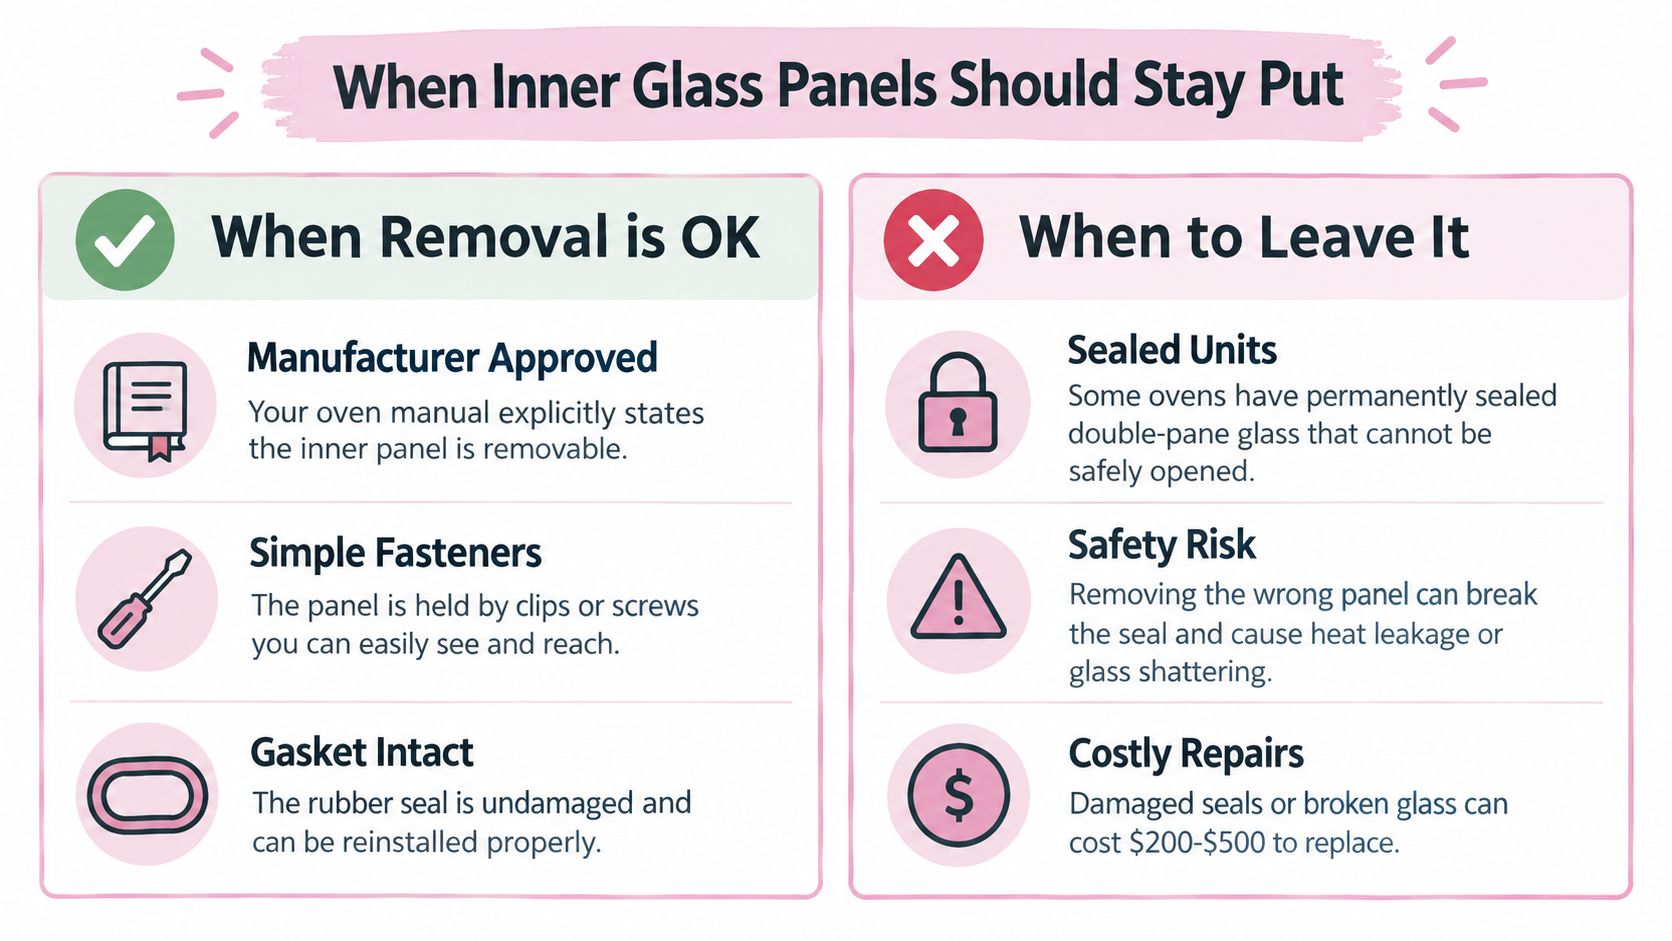
Removing the inner panel isn't automatically a deeper or better clean. It's a model-specific repair-like task that can affect hinges, fasteners, seals, coatings, and alignment.
Read before touching a screw
Check the owner's manual for the exact model and look for:
- Whether the inner pane is explicitly removable.
- The correct hinge position and door-removal procedure.
- Retention screws, clips, or brackets and their order.
- Warnings about cameras, coatings, side-swing doors, or sealed construction.
- Instructions for reinstalling the gasket and glass.
If the manual doesn't describe access, don't assume a video for a similar-looking oven applies. Door designs can differ even within one product family. Incorrect hinge handling may let the door fall, while uneven pressure during reassembly can chip or stress the pane.
Situations that call for stopping
Leave the panel in place when the door appears permanently sealed, when grease is trapped between layers without a documented access method, or when you see a chip, crack, deep scratch, loose seal, or delamination. Photograph the condition and record the appliance model before contacting a qualified technician. That documentation helps distinguish existing damage from an issue created during service.
Self-cleaning ovens deserve extra caution because their door materials and seals may have specific restrictions. A homeowner in Acworth or Powder Springs may safely wipe accessible glass while leaving enclosed contamination to appliance service. That is often the lower-risk choice, especially when a camera is mounted in the door or the door swings from the side.
The same principle applies to professional cleaners. A routine cleaning visit should define whether accessible inside-oven surfaces are included, whether an interior-oven add-on was requested in advance, and when the job stops because the appliance requires model-specific approval. Removing a panel just to promise a more dramatic result is poor practice if the reassembly risk outweighs the cosmetic benefit.
Keeping the Glass Clear Between Cleanings
The easiest oven glass to clean is the glass that hasn't accumulated repeated layers of grease. Small habits help busy households in Kennesaw, Acworth, Woodstock, and Cartersville avoid risky catch-up work.
- Catch spills early. Once the oven is cool, wipe accessible splatter with a lightly damp cloth instead of allowing repeated heating cycles to harden it.
- Use an approved liner carefully. If your manufacturer permits an oven liner, follow its placement instructions. Never block vents or place foil where the manual prohibits it.
- Vent steam sensibly. After broiling, opening the door briefly once the heating process is complete can help moisture escape, but don't put your hands near hot glass or controls.
- Check the pane under angled light. A quick visual check reveals film that isn't obvious from straight on.
- Keep the gasket undisturbed. A clean pane isn't worth a damaged seal.
A recurring basic maintenance cleaning can keep accessible appliance surfaces from becoming a neglected project. Maid in America is locally and privately owned by Vicky Bates, serves homes, offices, and community amenities across West Georgia, and provides basic, Top-to-Bottom Deluxe/deep, move-in/move-out, post-construction, office, and HOA clubhouse cleaning. Recurring schedules include weekly, biweekly, every 3 weeks, and monthly service, with add-ons such as inside oven or fridge cleaning, baseboards, cabinets, interior windows, grout, laundry, dishes, and upholstery vacuuming.
Licensed, bonded, and insured cleaners use carefully selected, low-odor products and usually provide one dedicated cleaner instead of a large team. That continuity can suit busy families and commuters, renters, retirees aging in place, and HOA communities that need consistent care without improvised appliance disassembly. For a broader routine, use this entire-house cleaning checklist.
If you want help with accessible oven glass and the surrounding kitchen, request a free estimate from Maid in America online or call 770-427-4448. We'll discuss your home, office, or community amenity, the cleaning frequency that fits your routine, and whether an inside-oven add-on is appropriate for your appliance.




Maid in America provides reliable, personalized cleaning with natural products for homes, offices, and communities across West Georgia. Licensed, bonded, and insured, we’re locally and privately owned.
Get in touch with us today!
info@maidinamericaga.com